
Previous post

Travel blog documenting landscape and adventure photography, conservation stories, travel tips, and entertaining stories from the road

Saying I was ill-prepared before embarking on the Annapurna Circuit and Sanctuary treks would be an understatement. I had read a few blog posts from others who had completed it, but other than that did no such research until I was in Kathmandu, two days before starting the trek. I heard from others that it can easily be done one’s own, without a guide or porter, and it was, but prior planning and preparation is recommended as it can be difficult to find logistical information once in Kathmandu–I had the hardest time just figuring how to get to the start of the trail.
While there’s some fun in figuring it all out along the way (like I did!), having some knowledge beforehand, especially if you are new to trekking, will make your life easier and more enjoyable once you get on the trail. This guide is for those who are planning to do the Annapurna Circuit (and Annapurna Sanctuary) trek solo, or without hiring a guide or porter from a trekking agency (which many people do, and, from what I hear, is relatively inexpensive and a worthwhile experience!). For a detailed day-by-day account of what you can expect to see once you are on the trail, read my Hiking the Annapurna Circuit Solo: A Guide and Journal post. Without further ado, here is everything you need to know–and I wish I knew–before you begin the trek of a lifetime!
First, upon entering Nepal, you will need to acquire a Tourist Visa of either 15 (25 USD), 30 (40 USD), or 90 (100 USD) days. Visas can easily be attained upon arrival at Tribhuvan International Airport.
For both the Annapurna Circuit and Annapurna Sanctuary treks (and any other treks in the Annapurna Conservation Area), you will need to obtain permits. Both an Entry Permit and TIMS (Trekking Information Management System) card are needed for the trek. They can be acquired at the Nepal Tourism Board office in either Kathmandu or Pokhara. Make sure you bring two passport-size photos, a copy of your passport, and proof of travel insurance as these are all required. It took me a little over an hour to acquire the permits and both cost 2000 rupees (about 17 USD) each, plus an extra 260 rupee tax for the Entry Permit.


IMPORTANT!!!: Take out enough money from an ATM in either Kathmandu or Pokhara (or at the very latest, Besisahar) BEFORE you start trekking, as you will not find working ATMs along the way and you do not want to be stuck up there with no cash.
I tried to budget around 1500-2000 rupees (rs.) per day, or 15-20 USD. Here is how much I spent on everything for the trek:
(Note: I tried to do the trek as cheap as possible by eating only two meals most days, showering and using WiFi/charging electronics only when it was free, filtering my water as much as possible instead of buying plastic bottles, and–surprisingly–not drinking alcohol. However, I do have a raging tea addiction–especially for masala tea–and stopped for tea 4-5 times a day, which probably added 4-5 USD to my daily expenses. If you are planning on eating three times a day, drinking a beer at night, eating desert–some places do have some amazing deserts, and using/purchasing other luxuries along the way, plan to add around 1000-1500 rs., about 10-15 USD, per day. All costs are for 16 days of trekking)
Visa: 40 USD
Permits: 4,260 rs. (~36 USD)
Gear (sleeping bag rental, trekking poles, toilet paper, snacks, guide book): 4,600 rs. (~40 USD)
Transportation: 7,380 rs. (~62 USD)
Food and accommodation: 29,080 rs. (~245 USD)
Clothing and equipment (many of these items can be rented or bought for cheap in Kathmandu or Pokhara):
Depending on what time of the year you do the trek (I did it in October at peak season), prepare for all sorts of weather. It was hot and humid in the lower elevations, and freezing cold in the high altitudes.
Some people did it without a sleeping bag, and most night’s I didn’t need mine as all lodges provided blankets. However, on the nights I did use it (above Manang on the Circuit and at Annapurna Base Camp), I was really glad I had one as it got COLD.
If you are diligent–which I am not, you can wash clothes almost every day (until it gets too cold to hang dry at the upper altitudes), and bring less clothing.

First Aid and Toiletries:
The rest is probably stuff I should have had, but again, I was very ill-prepared:
Besisahar is the start of the Annapurna Circuit, but most people start in Bhulbule, a little farther up. Getting to the trail was one of the most difficult and frustrating parts for me. I tried to go straight from Kathmandu, which, after talking with others, I learned was a mistake. It is much easier to go to Pokhara, spending a night (or more) and heading to Besisahar from there. Instead, I took a tourist bus from Kathmandu heading to Pokhara for 1000 rs. and had to get off in Dumre, where I switched onto a local bus to Besisahar. Finding the right bus in Dumre was confusing and chaotic and I’m fairly certain I got ripped off. There is also a local bus that goes straight from Kathmandu to Besisahar for very cheap, but according to those who took it, it is a long, bumpy, uncomfortable ride and the bus station in Kathmandu is difficult to locate. Make life easy for yourself and go to Pokhara first.
Much of the first, and last (after Muktinath), part of the Circuit trail travels along a dirt road and jeeps can be hired to drive you up (or down) if you are not keen on hiking along the road, or you are on a tight schedule. I shared a jeep from Besisahar up to Chamje for 1500 rs.
If you are only doing the Circuit, you also have the option of choosing where to end the trek. Most people chose to finish in Jomsom, where there is a bus back to Pokhara and Kathmandu. There is also an airport in Jomsom where you can fly back. I took a bus from Jomsom to Tatopani for 800 rs. From there, I took a jeep to Ghorepani for 3000 rs., where I started the Annapurna Sanctuary trek.
Transportation was my greatest cost outside of food and lodging, and I was surprised at how expensive it was at times, especially for the jeep rides.
The Annapurna Sanctuary trek ends in Nayapul, and from there, one can either take a taxi (~1500 rs.) or local bus (200 rs.) back to Pokhara (about a three-hour drive).
The Annapurna treks are described as “teahouse treks” as you stay in teahouses, or small lodges, along the way. On the Circuit, there are villages every couple miles with lodging options. Most lodges have rooms with two beds, and some of the larger ones have dorm rooms. I was pleasantly surprised with how clean, and nice, most were. Almost all lodges offered hot showers powered by solar or gas (though they weren’t hot; I found the solar showers were never warm, but the gas ones were usually at least lukewarm), WiFi (that never really worked that well, but I could at least usually send a text), and charging stations (that were usually always full, especially in the crowded lodges in the higher elevation).
Up until Manang, I never had to pay for lodging, as long as I ate all my meals there. Past Manang, the lodges get more crowded as there are fewer villages and the trekkers are more concentrated, and they begin charging for accommodation. It cost between 200-500 rs., getting more expensive as you get higher up.

The greatest surprise for me was the variety of food options. All the lodges are regulated by the government and all have essentially the same menus; though, local specialties are offered in certain locations (for example, yak products are offered in the Manang region). I was thinking it would just be dal bhat all day, every day (I still ended up eating dal bhat nearly every day), but there is also a large variety of western options like pizza, macaroni, spaghetti, and American-style breakfasts.
Some must-haves:


Water:
Along the Circuit, you are able to buy plastic water bottles in most villages, though it gets expensive. Plastic bottles are banned much of the way into the Sanctuary (after Chomrong), but most lodges have purified water you can fill up for 50-100 rs. per liter.
There are also “Safe Drinking Water Stations” located in several villages along the Circuit trek, where you can fill up your bottle for around 50 rs. a liter. These are funded by the government of New Zealand and run by local women groups. It is a brilliant program and benefits everyone involved as local women are provided with jobs, plastic pollution is reduced, and trekkers get affordable, safe drinking water.

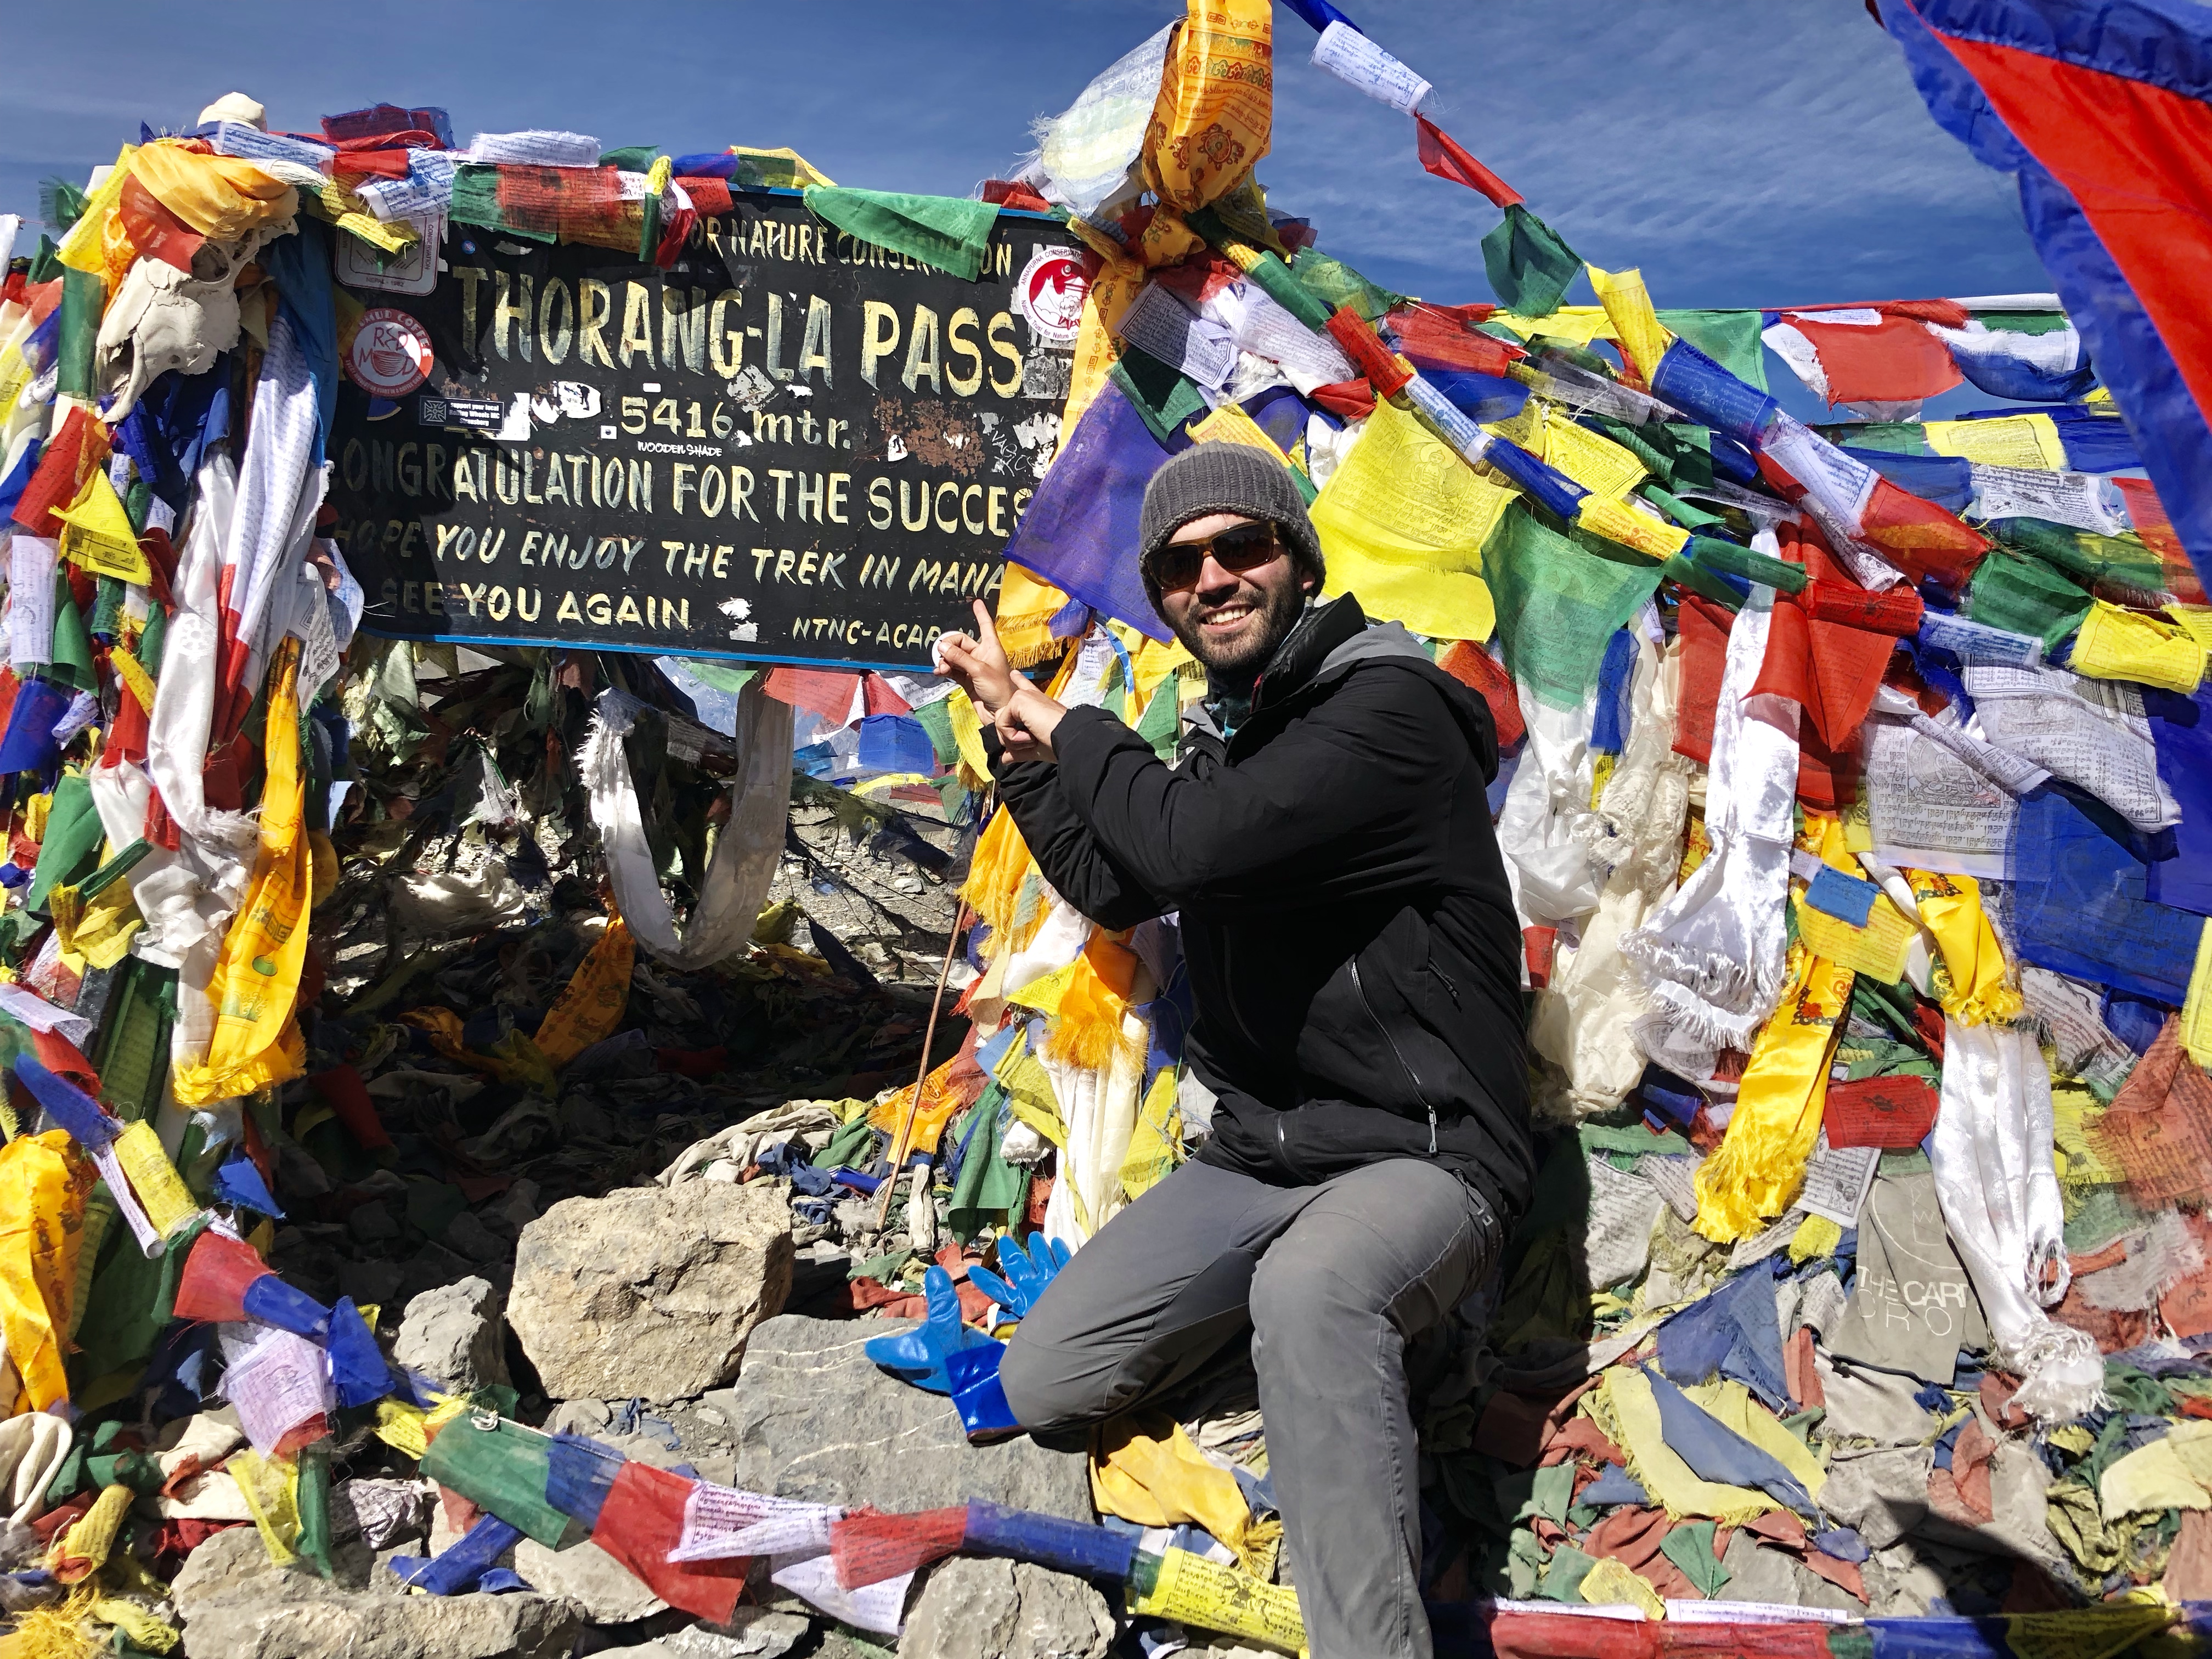
Acute Mountain Sickness (AMS) is the main concern for trekkers along the Annapurna Circuit as it reaches a dangerously high altitude of 5416 meters (17, 768 feet) at its height. AMS occurs when the the body fails to adjust to the low oxygen levels of high altitudes and can be fatal.
There are two types of AMS: High Altitude Pulmonary Edema (HAPE) and High Altitude Cerebral Edema (HACE). HAPE occurs when oxygen-deprivation causes fluid to build up in the tissues of the lungs; early symptoms include difficulty breathing and a dry cough. HACE occurs when their is fluid build up in the brain, and symptoms include headache, fatigue, nausea, loss of appetite, and vomiting; in severe cases, mental confusion and hallucination may occur.
If you feel any of these symptoms, the most important thing to do is to stop ascending. If symptoms get worse, then descend immediately.
Fortunately, AMS is completely preventable. The Annapurna Circuit is set up perfectly as you start at a low elevation and gradually climb, spending several nights at safer altitudes before attempting the pass. It is advisable to take a few rest days in the higher altitude villages, doing day trips to acclimatize.
You can also use medication such as Diamox, or eat garlic soup (which helps open the airways and allow more oxygen into the lungs), but the best way to avoid AMS is letting the body adjust to higher altitudes a little bit at a time.
Well, there it is! I hope this guide helps anyone planning on doing the Circuit. I had an incredible experience on the trek and will cherish the memory for years. Please comment with any additional questions!


